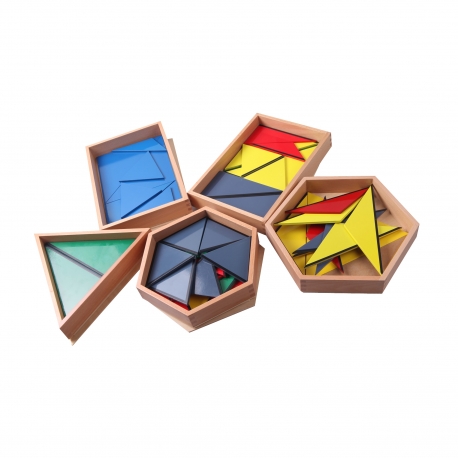
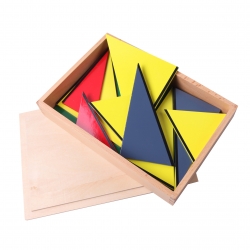
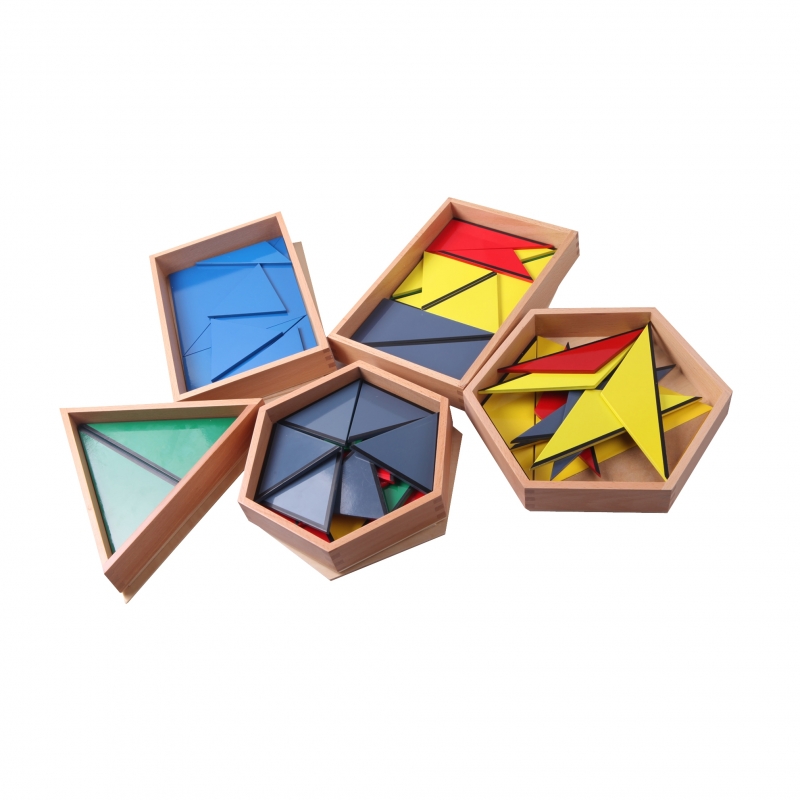
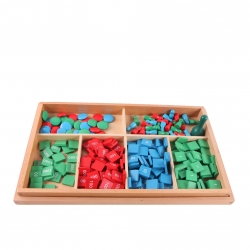
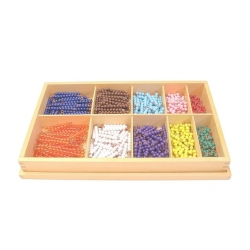
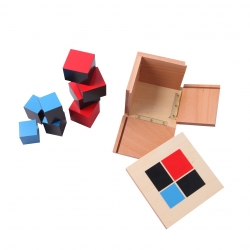
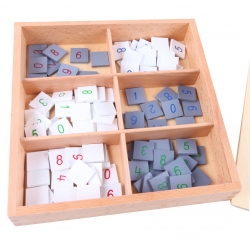
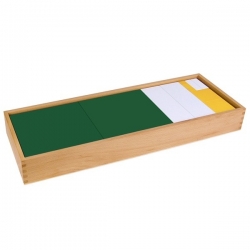
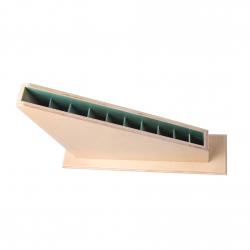
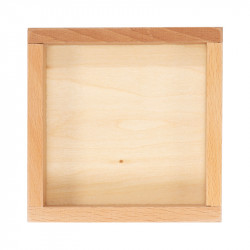
Explore the world of geometry with this set of 5 Montessori Constructive Triangles boxes. Each box contains triangles of different shapes and colors that can be combined to create new figures. This material develops visual discrimination, hand-eye coordination, problem solving and prepares the child for mathematical concepts such as area and congruence.
Montessori Constructive Triangles: this set of 5 boxes is essential material for learning geometry and preparing for mathematics.
Aims of this material:
Refinement of the visual sense
Visual discrimination of geometric shapes
Preparation for geometry
Preparation for calculating areas
Preparation for equivalences
Construction of intelligence
PRESENTATION OF THE MATERIAL:
First box, rectangular:
2 green right isosceles triangles
2 yellow right isosceles triangles
2 yellow scalene triangles
2 green scalene triangles
2 gray scalene triangles
2 yellow equilateral triangles
2 red triangles: one obtuse scalene and one right scalene
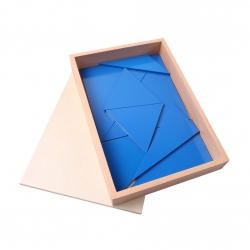
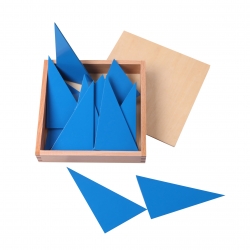
Second box, rectangular: the triangles are all blue
2 right isosceles triangles
2 right scalene triangles
2 equilateral triangles
1 right scalene triangle
1 obtuse scalene triangle
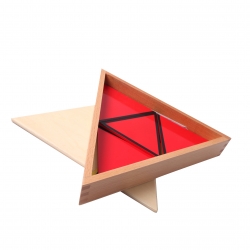
Third box: triangular box
1 large gray equilateral triangle
2 green right scalene triangles
3 yellow obtuse isosceles triangles
4 red equilateral triangles
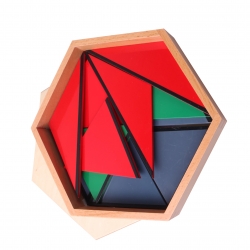
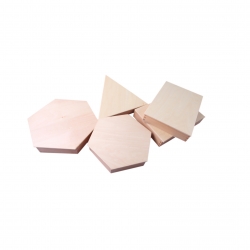
Fourth box: hexagonal box
1 large yellow equilateral triangle
6 yellow obtuse isosceles triangles
2 red obtuse isosceles triangles
2 gray obtuse isosceles triangles
Fifth box: small hexagonal box
6 gray equilateral triangles
3 green equilateral triangles
2 red equilateral triangles
Example of a practical exercise with the first box:
Go to the shelf with the child
Take the first box and sit down with the child at a table
Name the activity: "These are the constructive triangles"
Take out the two yellow triangles, the two green ones, the two gray ones and close the box
Take a green triangle, place it in front of the child, then take the other and join it to the first along the black line. Ask the child what the resulting figure is called: a square
Take a gray triangle, place it in front of the child, take the other gray triangle and join it to the other along the black line. Ask the child what the figure is called: a rectangle
Then take the yellow triangle, place it in front of the child, then take the other yellow triangle and join it to the first along the black line. Ask the child the name of the figure: a rhombus. Ask the child if he wants to continue and take the two yellow triangles and the two green triangles out of the box. Join them along the black line (the yellow ones first) and ask the child what the figure is called: a parallelogram
Do the same with the green ones, then invite the child to do it
Take out the remaining figures (the two yellow triangles and the two red triangles) and ask the child if he wants to do it
Once he has finished, ask him if he wants to make all the figures again
Mix up the triangles.
Example of a practical exercise with the second box:
Take out the two large blue triangles, join them together to form a square. Then slide one of the triangles to the other side while keeping the other fixed. You get a parallelogram. Slide one of the triangles a second time to get another parallelogram. Then return to the square. Ask the child if he wants to do it
Take the two right scalene triangles and join them; they form a rectangle. Ask the child the name of the figure, then slide one triangle and ask the child if he recognizes the newly formed figure (a parallelogram). Slide one of the two triangles again and ask the child the name of the new figure (a parallelogram). Invite the child to do it in turn
Take the two equilateral triangles and ask the child if he wants to join them. By joining them in three different ways you get three rhombuses in turn
Take out the right scalene triangle and the obtuse scalene triangle, join them in front of the child; the resulting shape is a trapezoid. Then invite him to do it in turn. Other irregular shapes can also be made.
Example of a practical exercise with the third box:
Settle on a mat
Open the box, place the lid underneath
Take the first triangle, the gray one, and place it in front of us. Ask the child if he recognizes it. It is an equilateral triangle
Then take the two green triangles and join them along the black line. Ask the child if he recognizes this one too. Place the two green triangles on the large one
Take out the three yellow triangles, join them along the black line and ask the child if he recognizes the figure. Place them on top of the large triangle, then rebuild them next to it on the mat
Take out the four red equilateral triangles, join them along the black line. You get an equilateral triangle. Place the resulting triangle on top of the green equilateral triangle
Invite the child to do the exercise.
Example of a practical exercise with the fourth box:
Go to the shelf with the child
Settle at a table with him
Take out the two red triangles, place them on the table and close the lid. Join them along the black line and a rhombus appears. Ask the child if he recognizes the figure
Open the box and take out the two gray triangles, join them along the black line and ask the child what he sees (a parallelogram)
Take the yellow triangles out of the box, the six obtuse isosceles ones and the large equilateral one, and ask the child the name of the large triangle
Stack the six isosceles triangles, then take three and place them against the large equilateral triangle following the black line; ask the child if he recognizes the figure (a hexagon)
Fold the three isosceles triangles onto the equilateral triangle, put them back in place, then separate two isosceles triangles from the sides of the equilateral triangle to remove the equilateral triangle. Put three isosceles triangles in its place. Then separate the triangles into three rhombuses. Ask the child what he sees
Remove two yellow triangles and put two red triangles in their place
Turn the gray parallelogram into a rhombus and also put it in place of two yellow triangles.
Example of a practical exercise with the fifth box:
Invite the child to go to the shelf
Take out the two red triangles by superimposing them and join them along the black line. Ask the child if he recognizes the figure (a rhombus). Invite the child to do it
Take out the three green ones by superimposing them, join them and ask the child if he knows the figure (a trapezoid)
Take out the six gray ones and ask the child to join them along the black lines: you get a hexagon. Ask the child if he knows it
Take the three green triangles and superimpose them on three gray triangles. Remove them, then take the two red triangles and superimpose them on two gray ones. Separate the shapes to get two trapezoids and then three rhombuses. Remove the superimposed triangles, then invite the child to do it in turn.
Put the box away
We recommend completing this material with the box of blue triangles (all the triangles are blue and identical) S031.
Are you sure that you want to report this comment?
Report sent
Your report has been submitted and will be considered by a moderator.
Your report cannot be sent
Write your review
Review sent
Your comment has been submitted and will be available once approved by a moderator.
Your review cannot be sent
Explore the world of geometry with this set of 5 Montessori Constructive Triangles boxes. Each box contains triangles of different shapes and colors that can be combined to create new figures. This material develops visual discrimination, hand-eye coordination, problem solving and prepares the child for mathematical concepts such as area and congruence.